Setup Wizard
The Setup Wizard is a guided, step-by-step flow that gets you from a brand-new account to a device that is running a model — all in one place, without leaving the dashboard.
The first time you sign in to a new account that has no devices yet, the wizard opens automatically and walks you through three steps:
- Platform — choose where the device will run
- Connect — install the agent and wait for the device to come online
- Deploy — deploy a recommended starter model
There is no naming step: every way of installing names the device for you, so the name in your dashboard always matches the machine it is running on.
The Setup Wizard opens automatically once for new accounts that have no registered devices. After you sign in, it appears as an overlay on your dashboard. You can leave it at any time and come back later — see Pausing, resuming, and dismissing the wizard below. Prefer to set things up manually? You can always register a device and deploy a model from the Devices and Models pages instead.
Step 1 — Choose your platform
Pick where your device will run. macOS is selected by default and is the quickest path — a one-click app download with no terminal commands.
- macOS (Apple Silicon) — download the Loc.ai:Link desktop app; its built-in first-run setup signs you in and registers the device for you. This option carries Alpha and Apple Silicon badges to show its current scope.
- Advanced: install via terminal — expand this disclosure to install from the command line instead, with a card for Linux / macOS or Windows PowerShell. This is the path for servers, Raspberry Pis, Intel Macs, and other headless machines.
On macOS, click Continue. If you picked a terminal platform, click Get install command.
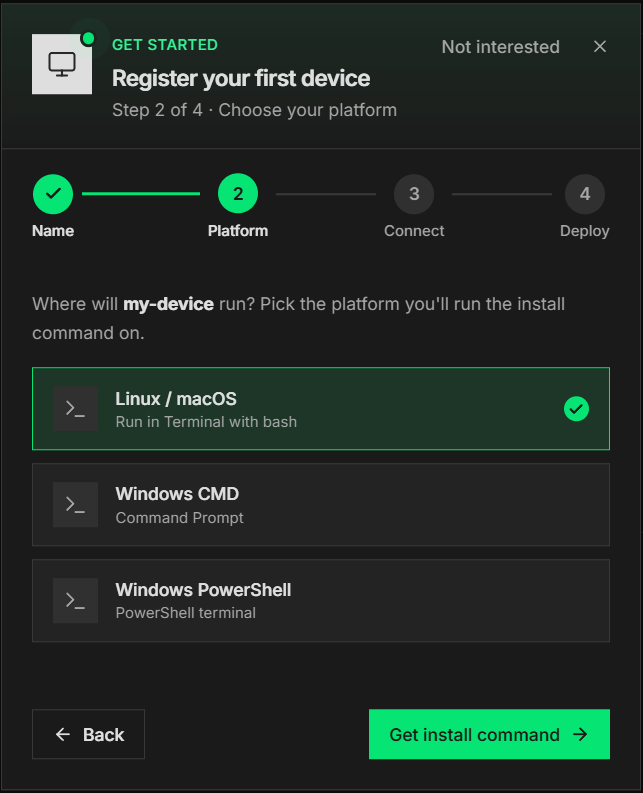
The terminal path on Windows uses PowerShell. The previous Command Prompt (CMD) option has been retired.
The platform picker is keyboard-navigable, and the wizard respects your system's reduced-motion preference.
Step 2 — Connect your device
How you connect depends on the platform you chose in Step 1.
macOS — download the app
Click Download for Mac to download the Loc.ai:Link .pkg installer. Open the downloaded file and follow the app's first-run setup: it signs you in, registers this Mac on your account, and starts the agent. There is no registration key to copy on the Mac path.
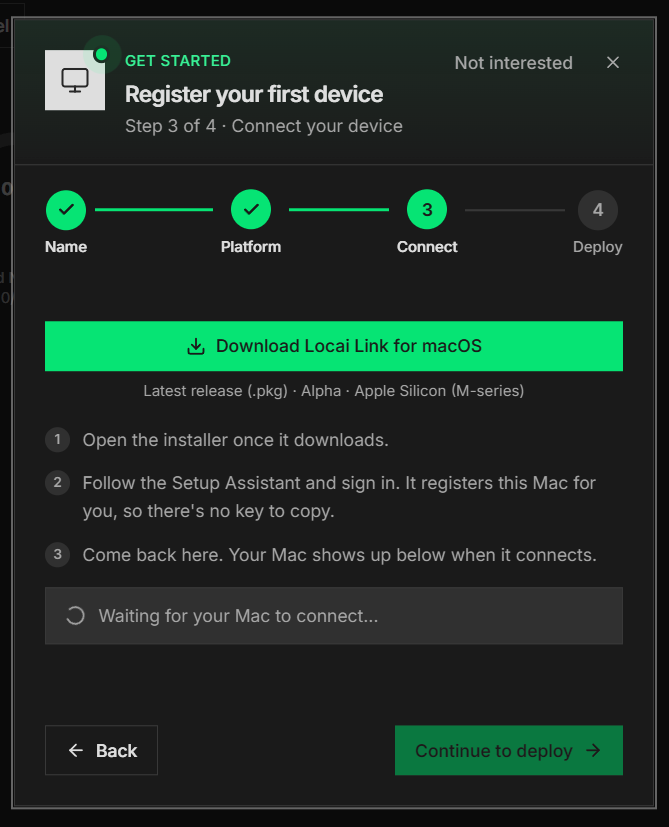
For the full macOS walkthrough, see Install on macOS.
Install via terminal
If you chose a terminal platform (or opened Advanced: install via terminal on a Mac), the wizard shows a single, ready-to-copy command for the platform you picked. Click Copy, then paste and run the command in the terminal of the device you are registering (not your local browser machine). Use Terminal on macOS or Linux, or PowerShell on Windows.
The one command installs the Loc.ai:Link agent, registers the device with a one-time key, and starts it in the background. You are not asked for a password, an email, or a device name — the key inside the command is the only credential, and the device names itself after the account and machine it runs on.
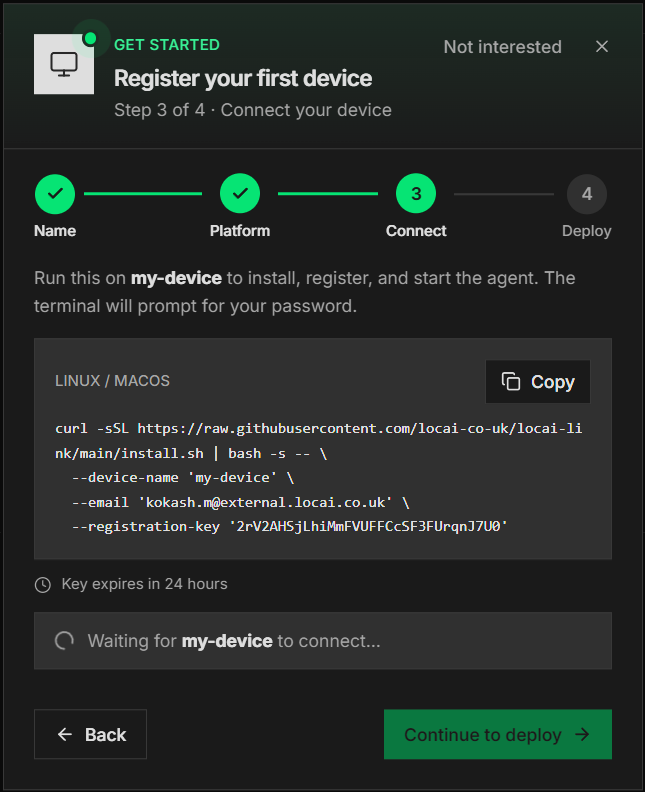
On the terminal path, the command includes a registration key that is valid for 24 hours. If it expires before you run it, restart the wizard (or register from the Devices page) to generate a fresh key. (The macOS app path has no key to expire.)
Waiting to connect
Whichever path you use, the wizard waits in the background and detects your newly connected device automatically — there is nothing to refresh and no name to match. Once the agent comes online, the status changes to connected and ready to serve models.
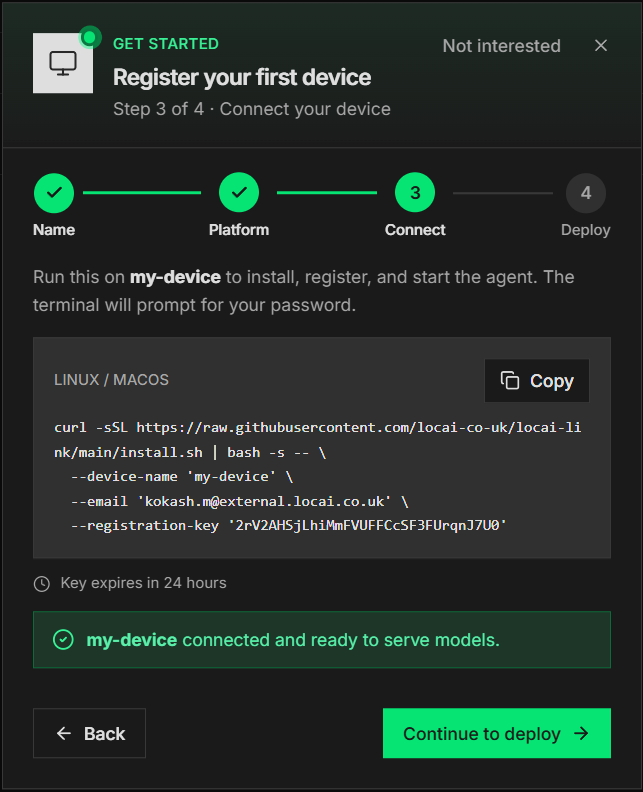
When you see the success message, click Continue to deploy.
Step 3 — Deploy a model
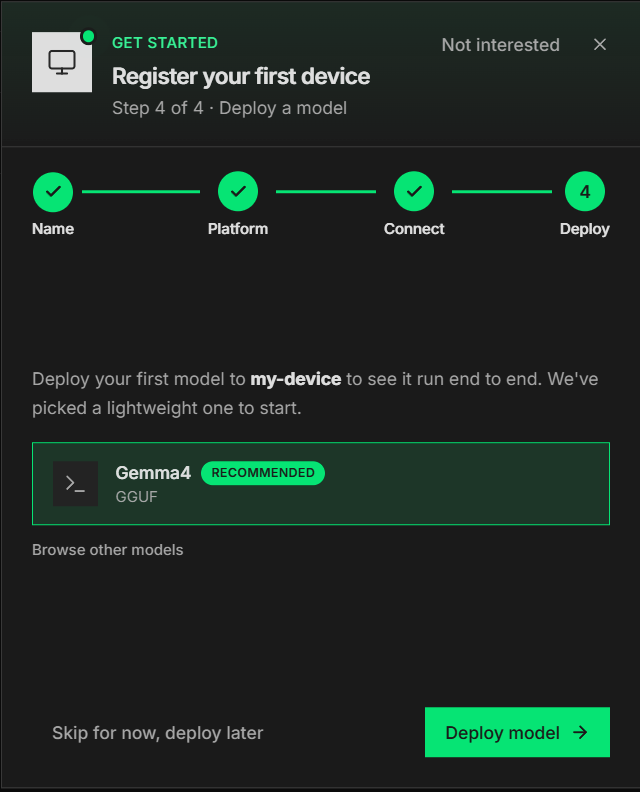
The wizard recommends a lightweight starter model so you can see your device run a model end to end. Click Deploy model to deploy the recommended model, or choose Browse other models to pick a different one.
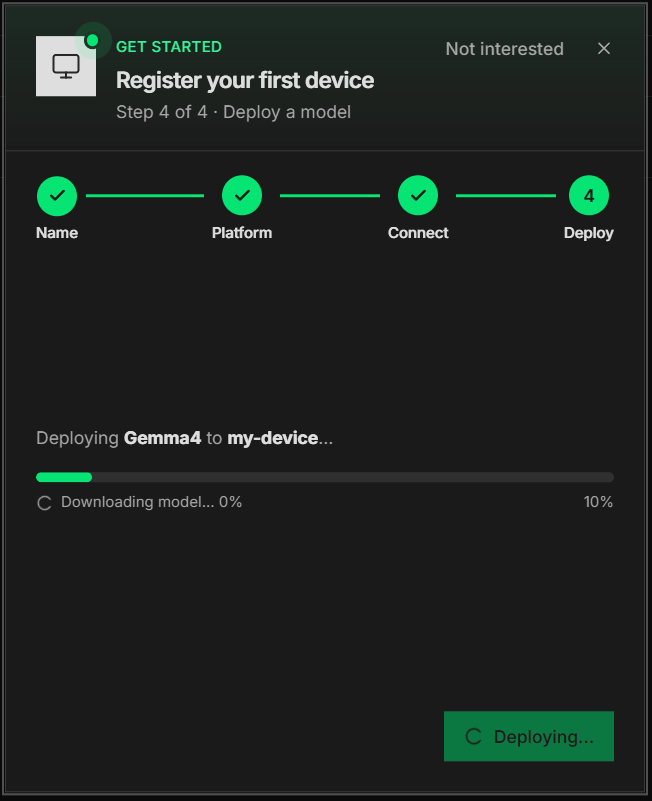
A progress bar tracks the deployment as the model downloads and is configured on your device.
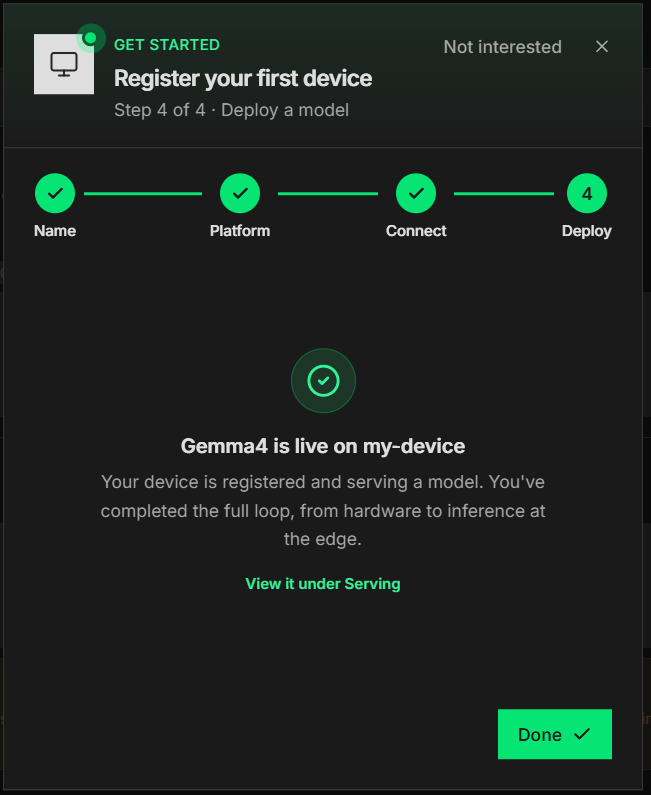
When the model finishes deploying and starts serving, the step ends on a model is live state. From here you can select View it under Serving to open the model in the Serving view, then click Done to close the wizard.
Choose Skip for now, deploy later to finish setup without deploying. You can deploy a model at any time from the Models page.
Pausing, resuming, and dismissing the wizard
There are two distinct ways to leave the wizard:
- Minimise it — clicking the X in the header (or clicking outside the wizard) minimises it to a Finish setup — N of 3 steps button in the bottom-right corner, with a small progress ring. Click that button at any time to pick up exactly where you left off.
- Hide it for good — clicking Not interested opens a confirmation dialog. Confirming permanently hides the wizard, and it stays hidden across browsers and sessions.
Whichever you choose, you can always add devices from the Devices page and deploy models from the Models page as normal.
Once your device is connected and a model is deployed, continue to Run First Inference to send input to your model and view results.