OpenClaw
Connect OpenClaw to your locally deployed language models with Loc.ai. Run private AI workflows directly on your own hardware. Use your models for chat, coding, and everyday tasks. Keep inference local with full control over your data.
What is OpenClaw?
OpenClaw is an open-source personal AI assistant that runs entirely on your own computer. It connects to messaging apps and can automate tasks using local or configured language models.
Because models served via Loc.ai are OpenAI-API compatible, you simply point OpenClaw at your served model's base URL no custom adapters or plugins required.
Prerequisites
Before you begin, make sure you have the following:
- A language model served via Loc.ai: see Quickstart: Serve a model
- OpenClaw installed on your machine: see the OpenClaw documentation on GitHub
How it Works
Once configured, here's what happens under the hood:
- Serve your model: Loc.ai exposes a local OpenAI-compatible endpoint on your chosen port.
- Point OpenClaw at it: The provider entry in your JSON config registers Loc.ai as the inference backend.
- Run privately: All requests are handled locally, giving you low latency, zero cloud cost, and full data privacy.
Integration Flow
You can view the integration diagram below:
Steps to Integrate with OpenClaw
Step 1: First register your device with Loc.ai. Refer to the Register a Device guide to register your device with Loc.ai before continuing with OpenClaw integration.
Once registered, the device status changes to Online in the dashboard.
Step 2: Next, follow the instructions below to connect OpenClaw to your locally served model:
-
Install OpenClaw on your remote machine by following the instructions in their documentation.
-
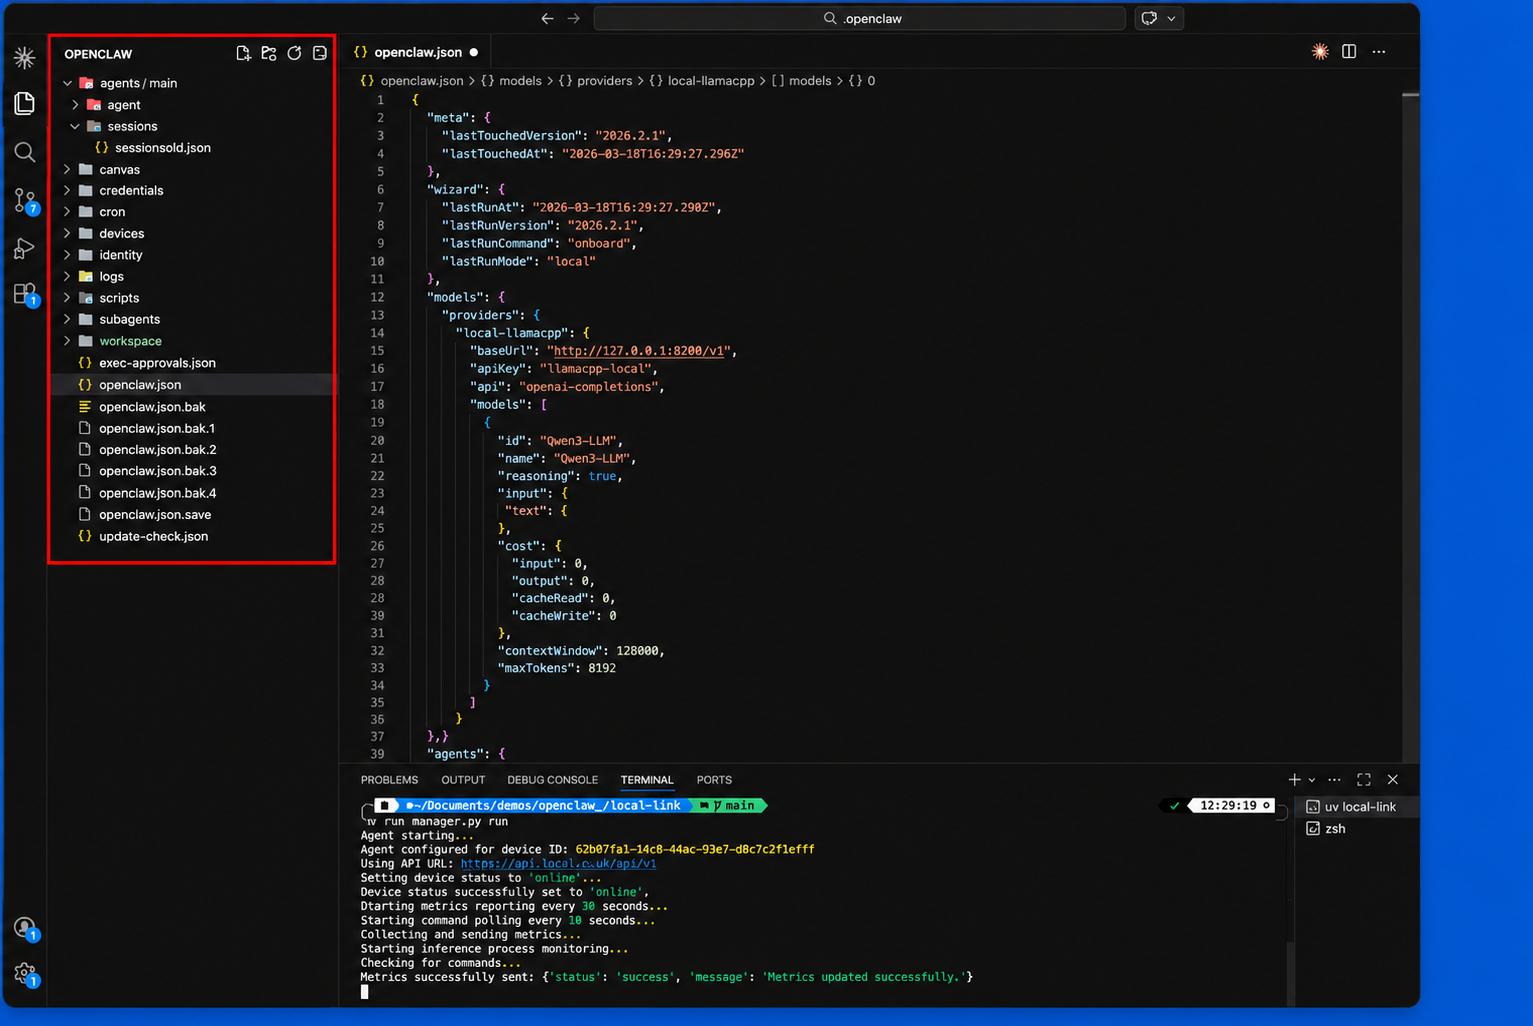
Open the .openclaw (hidden folder) folder in your IDE, open the terminal at the .openclaw directory, and execute the following command to run Locai-link, which will create a tunnel to your locally served model:
uv run manager.py run
When you run the command, you will see that is connecting to your account, and changing the device status to Online in the dashboard, once the connection is established.
Step 3: Once your device is registered, go to ML Models in the Loc.ai dashboard, upload a GGUF model or choose one from the model library, set the type to Language Model, then deploy the model to your registered device.
While deploying a model, make sure to select the same target device that you used in step 2 to run Locai-link.
Save the IP address and port shown in the serving panel you'll need both in step 3.
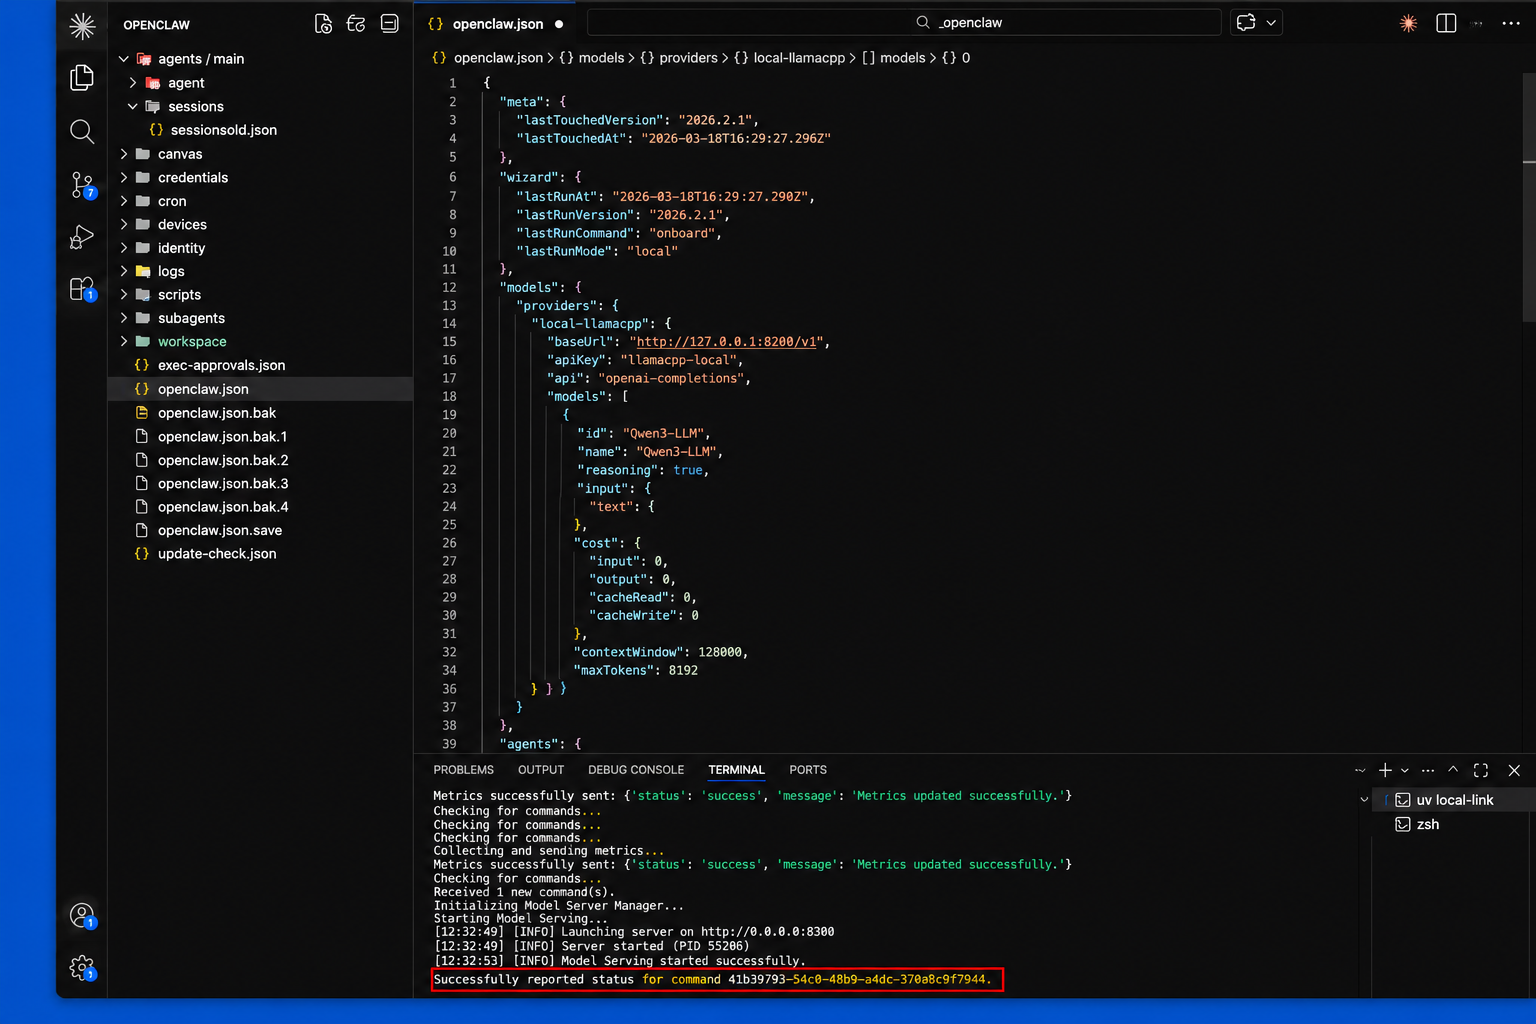
Step 4: Once your model is deployed, click Start Serving. This will expose a locai-link and the model will start serving on the specified port.
If you check the your target device's IDE terminal, you will see that the model is initialized and serving on the port you have assigned.
Now, you can check that the correct model is serving in the dashboard, along with its details.
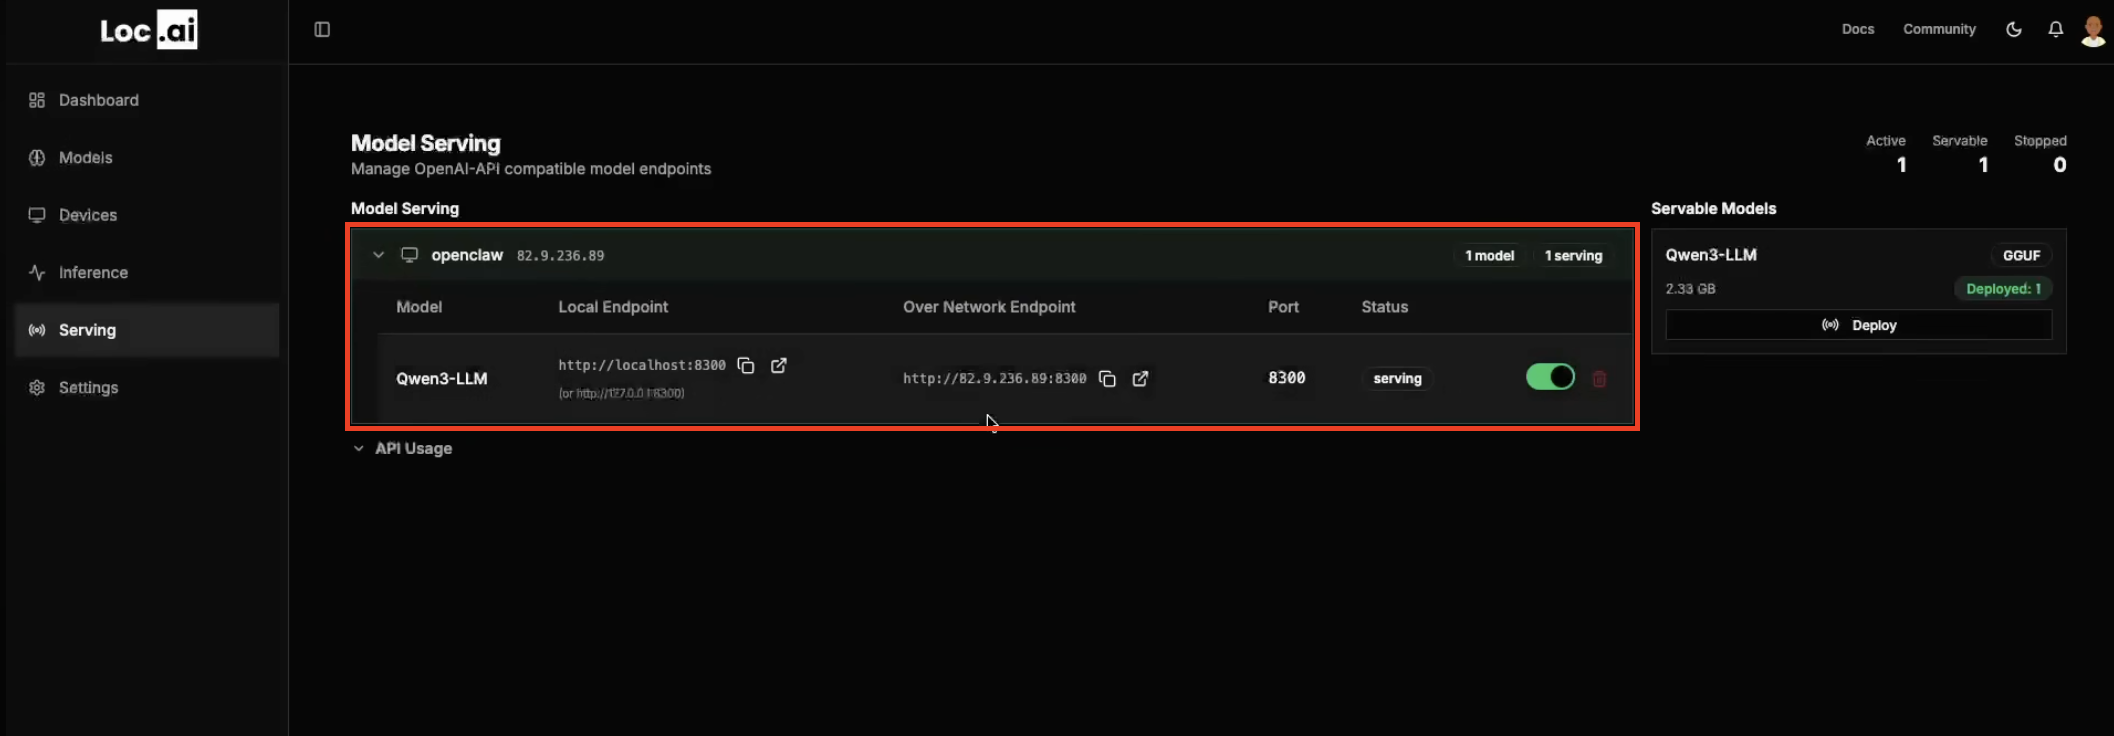
You will have access to the local endpoint, as well as the ability to access it over the network. This model is now available to be connected to other applications.
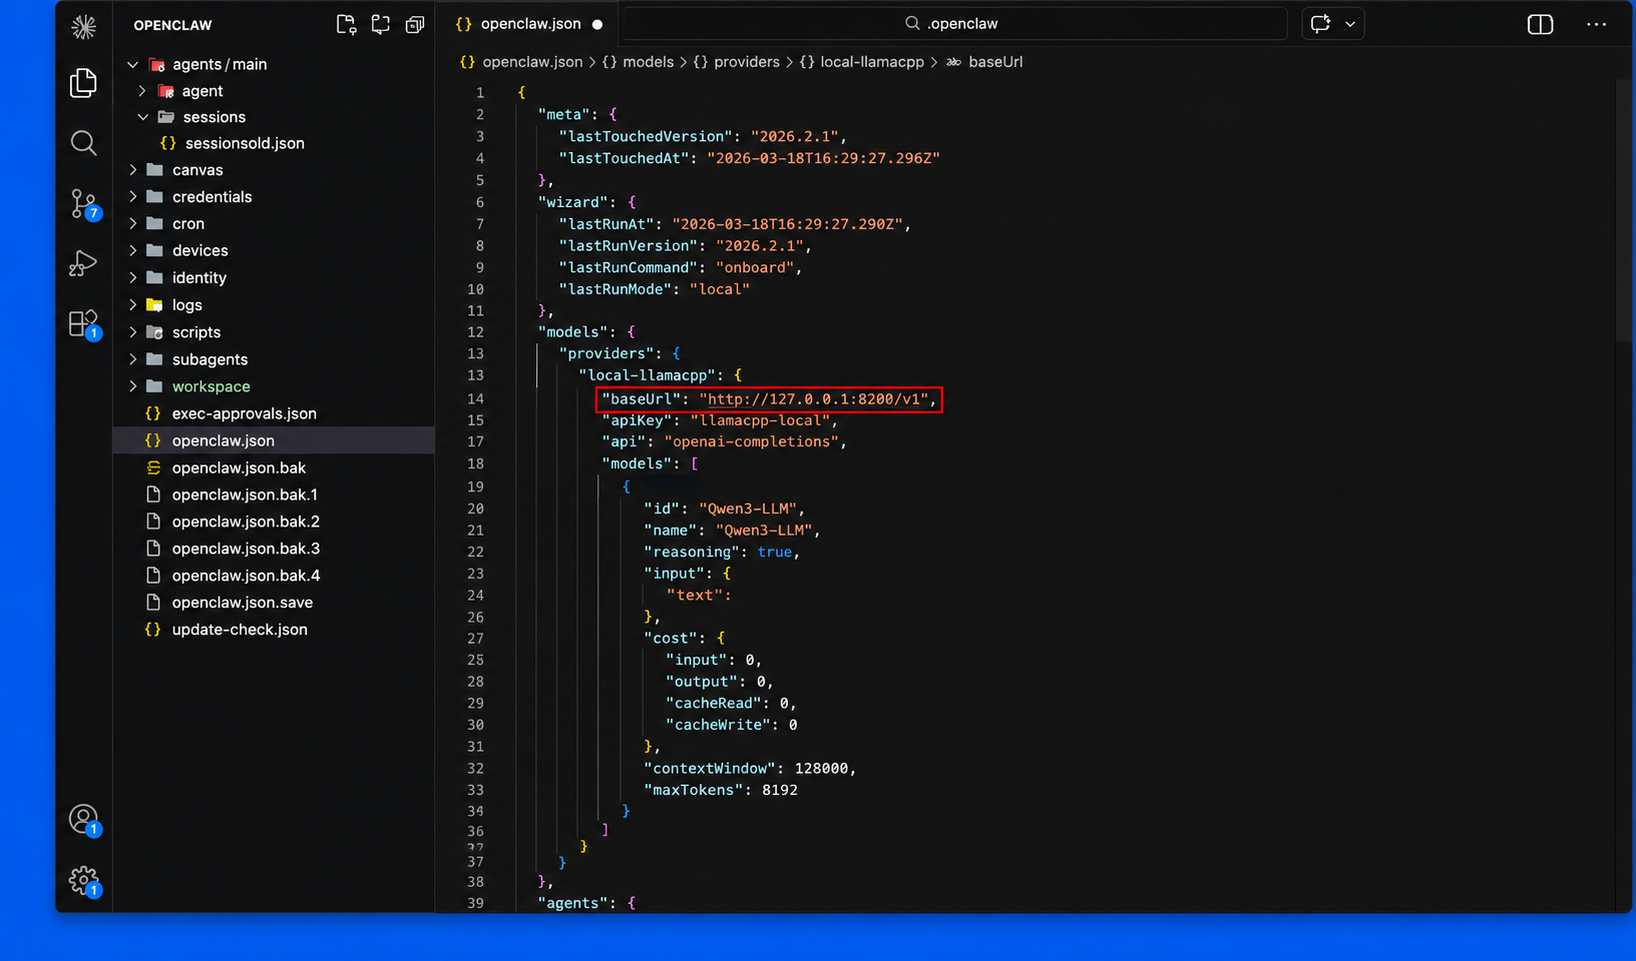
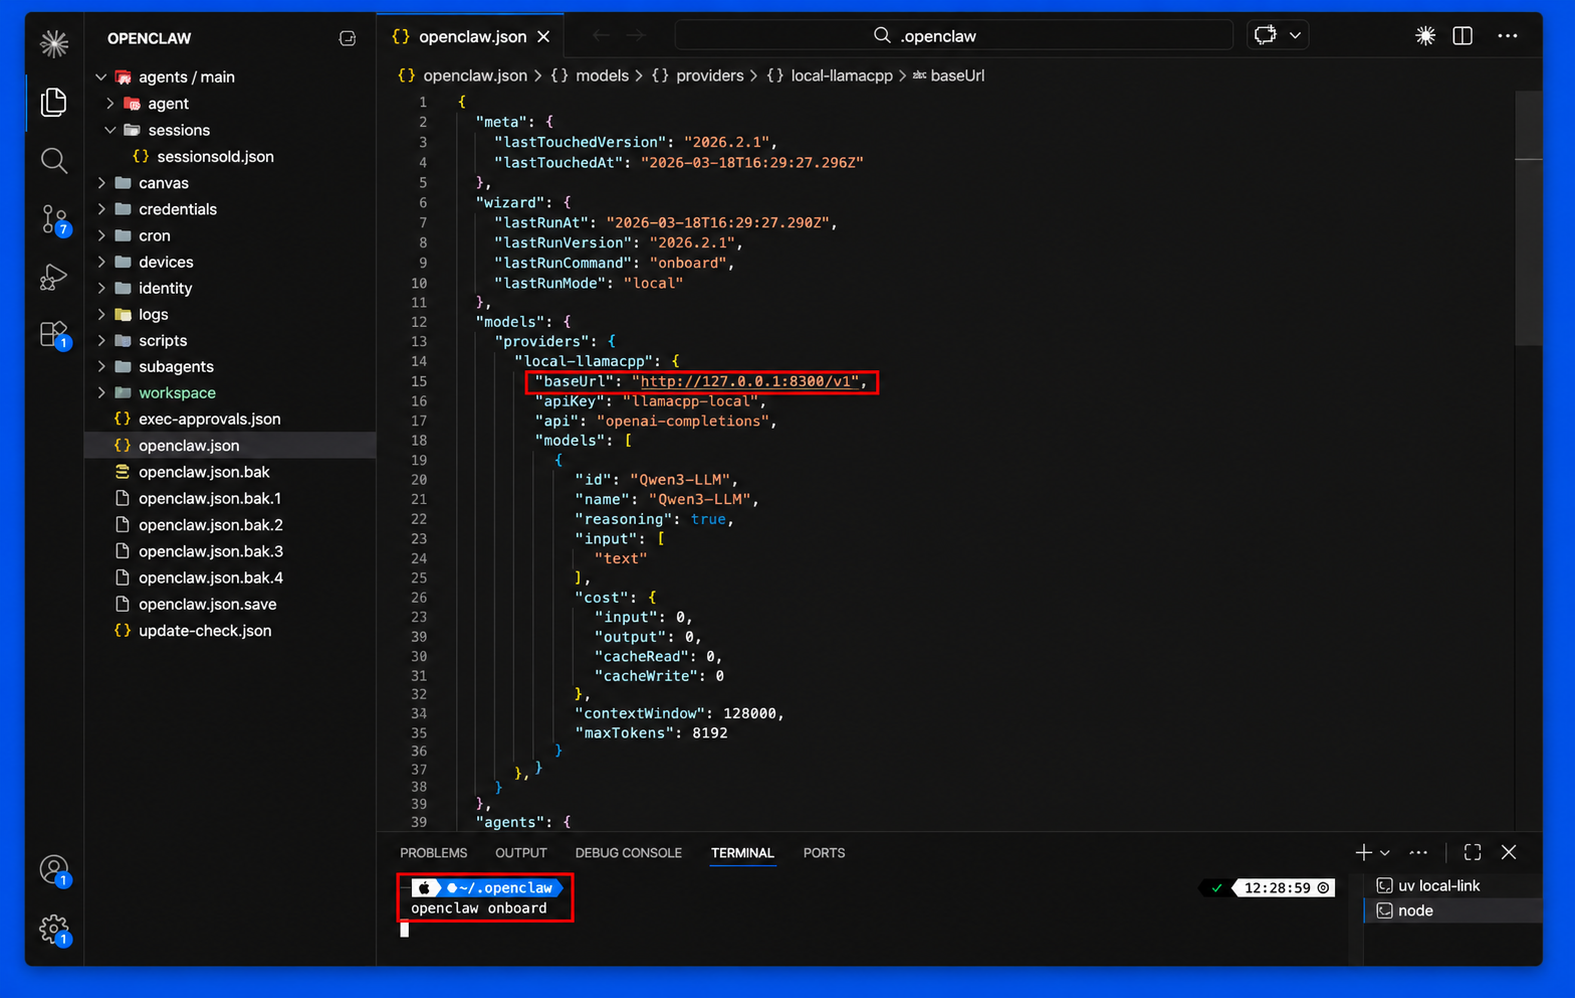
Step: 5: Navigate to the IDE on your target device, open the OpenClaw JSON config file (openclaw.json), and add a new entry under models.providers with the following details:
{
  "models": {
    "providers": {
      "local-llamacpp": {
        "title": "Loc.ai Served Model",
        "provider": "openai",
        "model": "your-model-name",
        "apiBase": "http://localhost:8100/v1",
        "apiKey": "not-needed"
      }
    }
  }
}
If the openclaw.json file already has a provider entry, simply enter the correct port number you specified when serving your model.
To install the OpenClaw in your target device, you can follow the instructions in the OpenClaw documentation on GitHub.
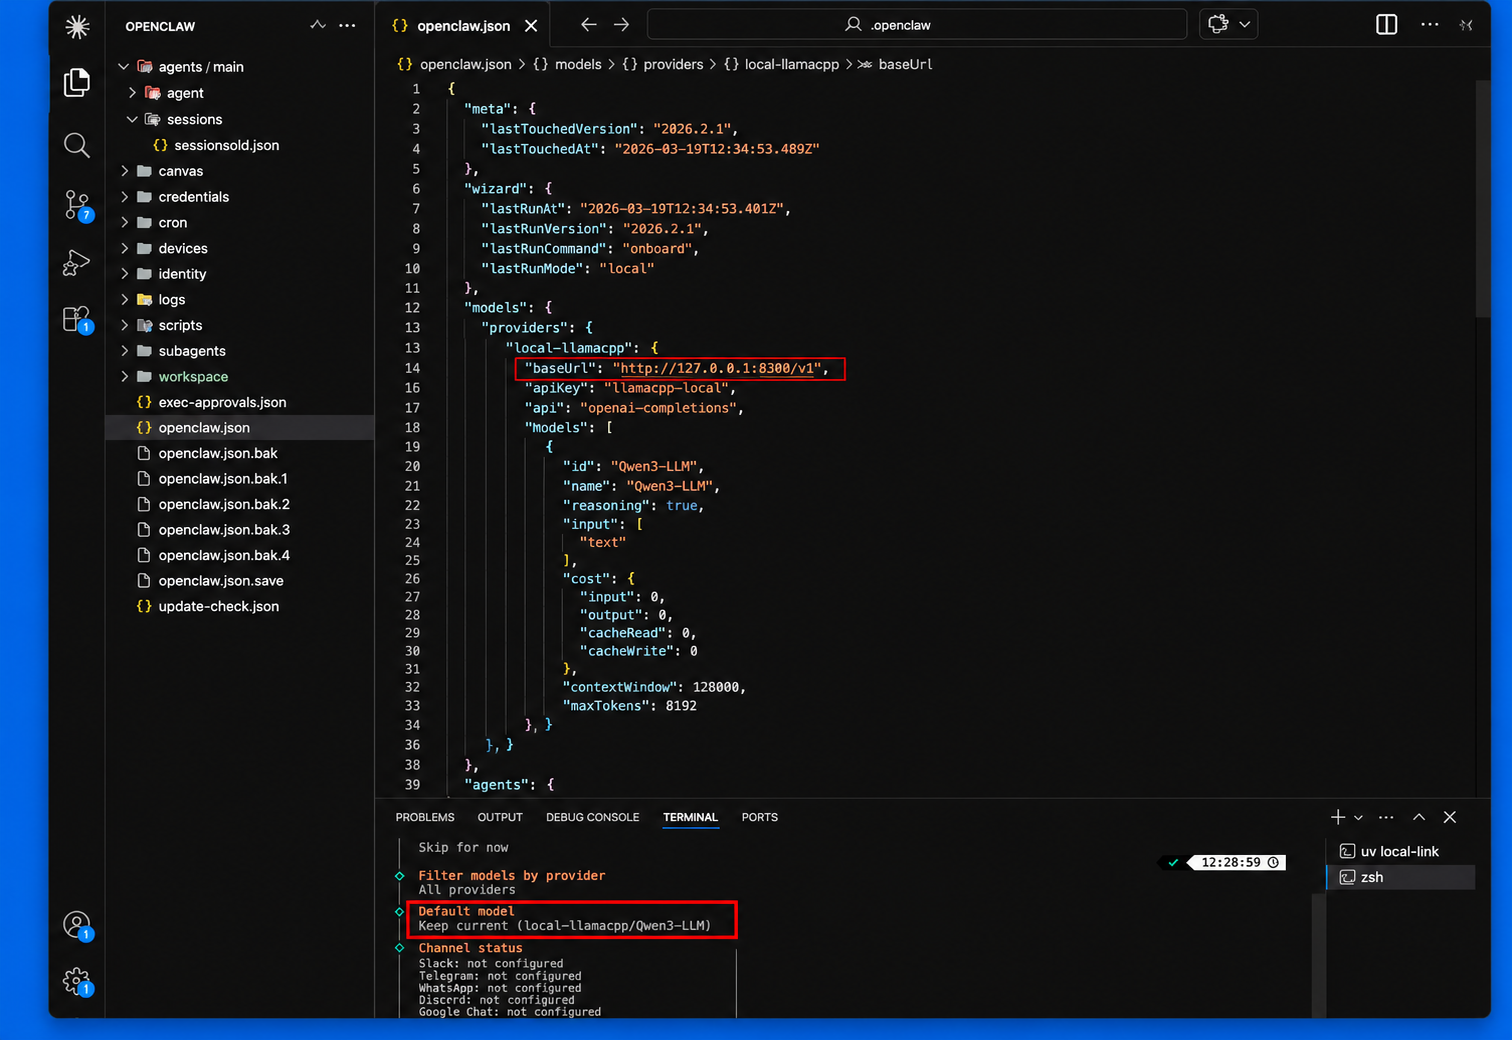
Step 6: Once you configure the provider entry in your OpenClaw JSON config file, run the openclaw onboarding command in the terminal to start OpenClaw and connect it to your locally served model.
openclaw onboarding
The configuration process will start in the shell, simply follow the instructions to complete the onboarding process and choosing the local LLM through locai. Once completed, you will see that OpenClaw is connected to your locally served model and ready to use.
Replace localhost:8100 with the host and port you specified when serving your model. If the model runs on a different machine on your local network, use that device's IP address instead of localhost.
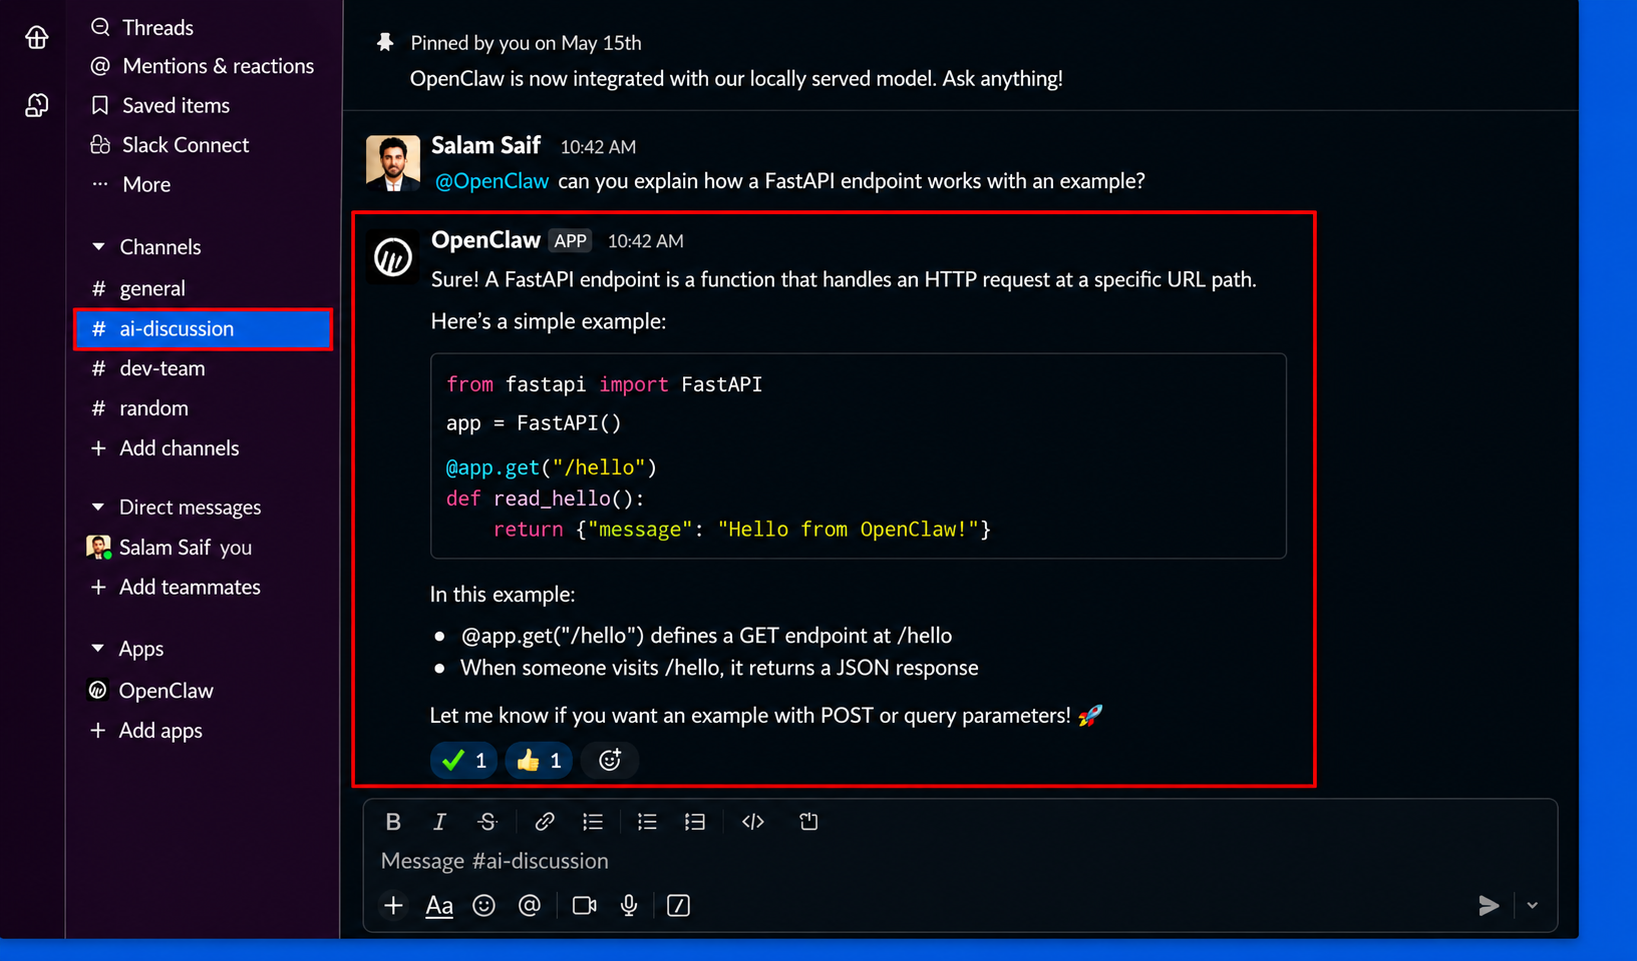
If you have chosen, slack channel integration during the onboarding process, you can start using your model in your slack workspace. Simply send a message to the channel you have chosen during onboarding, and you will see that OpenClaw is responding to your messages using the locally served model.
Usage
With the provider configured, OpenClaw routes all requests to your locally served model through Loc.ai automatically. You get:
- Low latency: inference happens on your own hardware
- Privacy: no prompts or responses are sent to external servers
- No cost: no cloud inference fees, ever
Running multiple models? Serve different models on separate ports and add a provider entry for each one in your OpenClaw config. You can switch between them without leaving the app.